A failed cable must not be replaced by matching its colour or copying the old size from memory. You will be able to isolate the circuit safely, identify the actual failure, specify a technically suitable replacement, document the claim, and check the new drum before installation.
Key takeaways
- Isolate every supply and prove the circuit dead before touching the cable.
- Photograph the failure, terminations, markings, drum label and installation conditions.
- Recalculate conductor size using load, voltage drop, fault level and installation method.
- Get written replacement terms covering specification, warranty, transport and failed-cable inspection.
Make the circuit safe and confirm what failed
Isolate the feeder at its source, apply lockout/tagout, and prevent every possible back-feed, including a generator, UPS, solar inverter, or parallel supply. An authorised electrician must prove the circuit dead with an appropriately rated voltage tester, discharge stored energy, and recheck before touching the cable or termination.
Photograph the complete sheath marking before cleaning, cutting, or removing anything. Record:
- Rated voltage, such as 0.6/1 kV; HT markings such as 3.3, 6.6, or 11 kV indicate a different class.
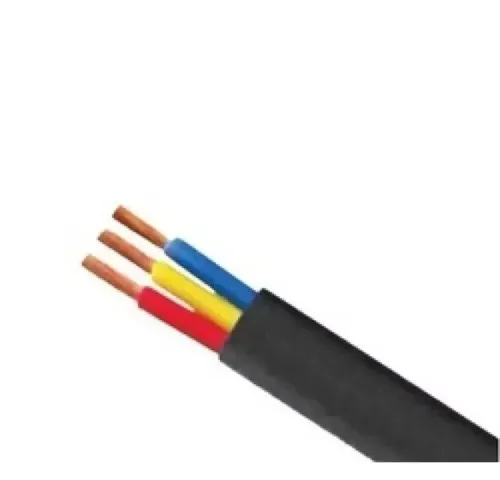
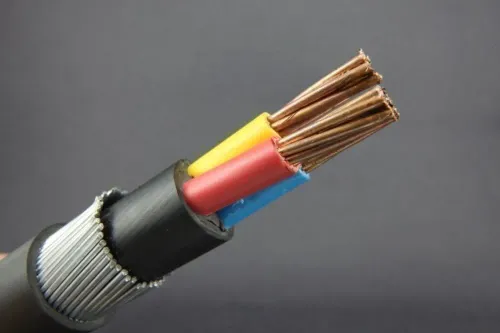
- Core count, conductor material, cross-sectional area in sq mm, conductor class, insulation and sheath material, armour or screen, and printed length or batch marking.
- Whether the cable has three-phase power cores, small control cores, fine-stranded flexible construction, or a single core.
- Installation route: tray, conduit, duct, buried run, or exposed section, plus the cable length and termination arrangement.
- Visible crushing, cuts, swelling, discolouration, water, loose glands, cracked lugs, heat marks, or a burnt breaker or busbar connection.
A qualified tester can check conductor continuity, insulation resistance, conductor-to-earth, conductor-to-screen or armour, and phase-to-phase faults. A failed reading proves a defect, not its cause. Compare it with load current, phase balance, protective-device records, route damage, and termination condition; a bad lug or gland can imitate cable failure.
Give this evidence to a Polycab LT cable dealer and ask them to match the marking, not the appearance. Do not remove or return the failed section until warranty inspection requirements are agreed.
Record the failure before removing the cable
Before cutting or returning the cable, photograph it in place and preserve the failed ends. An insulation-resistance result can prove a defect, but it cannot by itself prove overload, short circuit, installation damage, or manufacturing failure.
1. Record the cable marking, drum label, batch or lot number, invoice, delivery record, route length, core identification, and termination layout. Photograph the sheath, damage, lug, gland, joint, breaker terminals, and busbar connection before disturbing anything.
2. Record the failure test results: conductor continuity, insulation resistance from each conductor to earth or armour, and resistance between conductors. Identify whether the result shows an open conductor, conductor-to-conductor fault, conductor-to-armour fault, or sheath-only damage.
3. Inspect each termination for discolouration, melted insulation, loose or under-torqued bolts, an incorrect lug barrel, poor crimping, short stripping, sharp bends, missing stress relief, or gland damage. A burnt lug or gland with clean cable strands points to a termination failure rather than proof of defective cable.
4. Download breaker trip history and measure load current on every phase. Record phase imbalance, breaker rating and settings, repeated trips, ambient temperature, ventilation, grouping, conduit or tray conditions, and any overload event.
5. Inspect the route for crushing, abrasion, tight bends, excavation damage, standing water, failed glands, open joints, and water marks inside the sheath. Moisture at one end or in a joint supports water ingress; matching damage along the cable identifies the affected section.
Keep a representative failed section sealed and labelled, and obtain written instructions before returning it. Record whether inspection covers the cable only or also lugs, glands, joints, breakers, and busbar connections.
Specify and size the replacement instead of copying the old cable
Do not order “the same size” until you identify the failed cable’s complete construction. Photograph the sheath marking before removal and record:
- Voltage grade, normally 1.1 kV for an LT power cable
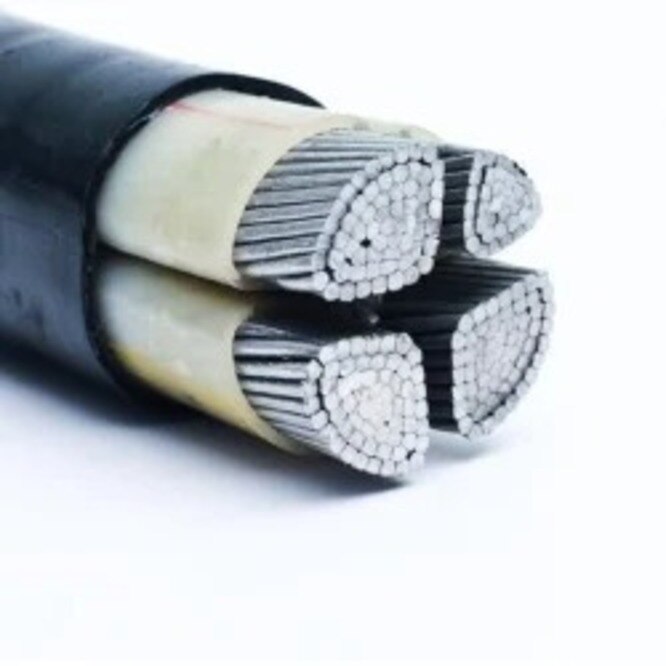
- Copper or aluminium conductor, conductor class, cross-sectional area in mm², and number of cores
- Insulation and sheath material, such as XLPE and PVC
- Armour type, fire-performance requirement, core identification, and drum length
- Drum number, batch identification, and the installed route and length
Then calculate the design current from the actual load, phase balance, motor starting conditions, and protective-device setting. Select a cable whose ampacity remains adequate after applying the manufacturer’s factors for loaded cores, conductor temperature, ambient temperature, grouping, tray or conduit installation, duct ventilation, and buried soil conditions.
A cable suitable in free air can overheat in a crowded tray.
Check voltage drop over the measured route at full load and during starting where motors are involved. Confirm that the breaker or fuse protects the conductor without nuisance tripping, and investigate overload, poor ventilation, water ingress, mechanical crushing, or a failed termination before repeating the installation.
Finally, check short-circuit withstand using the prospective fault current and clearing time: I²t must not exceed k²S² for the selected conductor and insulation. Ask a polycab cable dealer for written calculations, exact available length, test documentation, and matching markings.
The search phrase polycab cable dealer lt cable for replacement in ahmedabad is not proof of authorization; verify the manufacturer’s current channel confirmation.
Compare conductor options and obtain written replacement terms
Do not approve a copper-for-aluminium swap by matching the old cable’s square-millimetre size. Compare the design current, voltage drop, short-circuit withstand, route, termination hardware and protective-device rating; aluminium often needs a larger cross-section for the same duty.
| Conductor | Comparison | Check before ordering |
|---|---|---|
| Copper | Higher conductivity, smaller size and simpler termination | Confirm the cable size, lug compatibility and available drum length |
| Aluminium | Lower weight and cost, but larger size and more sensitive terminations | Specify aluminium-rated lugs, jointing compound and the manufacturer’s tightening torque |
| Either | Must satisfy the selected cable standard and installation design | Name IS 7098 (Part 1), IS 1554 (Part 1), or IEC 60502-1 in the purchase order |
Verify an Ahmedabad supplier through current manufacturer-issued channel information or written confirmation, not a marketplace listing, logo or website claim. Ask a Polycab cable dealer in Ahmedabad or Polycab distributor in Ahmedabad for the exact length, batch or manufacturing date, drum number, packing condition, routine-test documentation and tax invoice matching the sheath marking.
Prabhat Cables Pvt. Ltd can be included in the comparison only after those documents and authorization details are checked.
Put the commercial outcome in writing before collection:
- Warranty replacement: cite the invoice and applicable warranty terms, and identify who inspects the failure.
- Credit or return: state the credit amount, return deadline, freight responsibility and whether the original cable must be returned.
- New purchase: record the price, tax, quantity and delivery terms, with the failed cable claim handled separately.
- Exclusions: state treatment of lugs, glands, joints, terminations and installation damage.
Related product
 | Polycab LT Cables Polycab LT (Low Tension) cables are a type of electrical cable designed for the transmission of electrical power at low voltages, typically below... View product → |
Check the replacement drum, install it, and close the records
A visually intact drum is not enough. On receipt, quarantine it if either end seal is broken, the outer sheath is cut, the packing is wet or distorted, or the drum has been dropped. Photograph the drum and label before unloading.
- Match the drum number, delivery note, and purchase specification. Confirm the printed marking, voltage grade, number of cores, conductor material and cross-sectional area, insulation and sheath materials, armour, and supplied length.
- Inspect the cable ends for moisture, contamination, flattened sections, kinks, corrosion, and exposed conductor. Water entering an unsealed end can damage insulation before installation.
- Install it on the approved route without exceeding the manufacturer’s pulling tension or minimum bend radius. Fit the specified glands and lugs, bond armour or screens where required, and tighten terminals to the manufacturer’s torque.
- Before energising, have a competent electrical contractor complete conductor continuity, phase identification, protective-conductor continuity, and insulation-resistance tests between conductors and between each conductor and earth. Apply the test voltage and pass criteria specified by the applicable standard, equipment instructions, and project specification.
- Record the drum and batch identification, circuit and route, installed length, joint and termination positions, test instruments and results, test date, and the installer’s name or contractor. Add torque records, gland details, and photographs before concealment.
Keep the failed cable’s label, invoice, delivery record, failure photographs, and any retained sample with the job file. Energise only after an authorised person reviews the results, closes defects, and approves the circuit for service.
Frequently asked questions
What must you do before removing a failed LT cable?
Isolate the feeder, apply lockout/tagout, prevent generator, UPS, solar inverter and parallel back-feed, then prove the circuit dead with an appropriately rated voltage tester. Discharge stored energy and recheck before touching the cable or termination.
What evidence should you record before removing the cable?
Photograph the failure, cable markings, drum label, terminations, route, installation conditions and any visible overheating, mechanical damage, moisture or joint problems. Record the feeder load, protection settings, fault date and test results.
Should you replace the cable with the same size?
No. Recalculate the replacement using load current, conductor material, insulation rating, voltage drop, short-circuit withstand, installation method, ambient temperature, grouping and protection-device settings.
What should written replacement terms include?
Specify the Polycab cable construction, conductor material, cross-sectional area, voltage rating, insulation and sheath type, length, applicable standard, delivery condition, warranty, inspection process, transport responsibility and treatment of the failed cable.
What should you check on the replacement cable drum?
Check the manufacturer marking, cable type, size, voltage grade, length, batch or manufacturing details, drum condition, end seals and visible sheath damage. Match the markings to the purchase specification before installation.